

The last in a series of devlogs I did for the Diorama Break Kickstarter. 3 days left to support us!
Diorama Break features a ton of high-quality sprite animations for attacks in combat, and in this post I’ll be taking you step-by-step through how one of these animations goes from concept to final implementation! Typically, this work will be handled by me and one of our animators (on the demo, for combat animations, this would almost always be Mariru).
For this example, I’ll be using one of the demo’s more complex animations, the guard captain’s sword swing.
Initial Concept
Once a character’s design, sprite model sheet, and combat poses (Idle + Ready) have been completed, we can start animating them. I’ll provide both to the animator, along with an initial description of the attack and a rough frame count to help quantify how long/complex the animation should be.
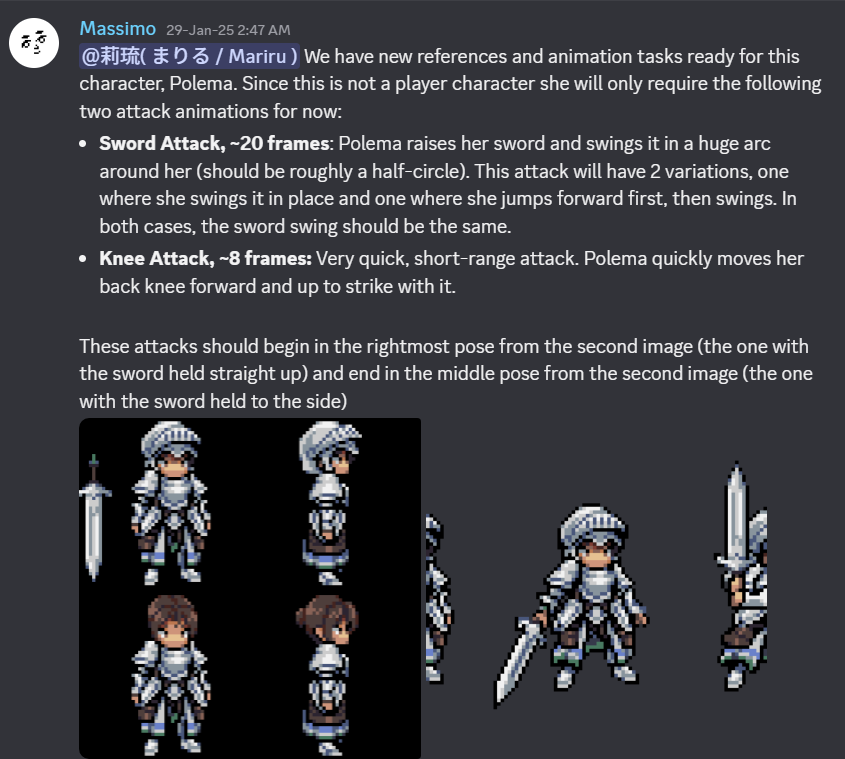
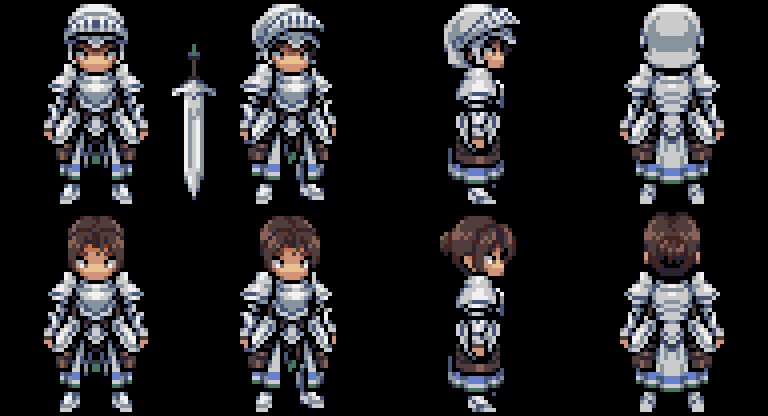
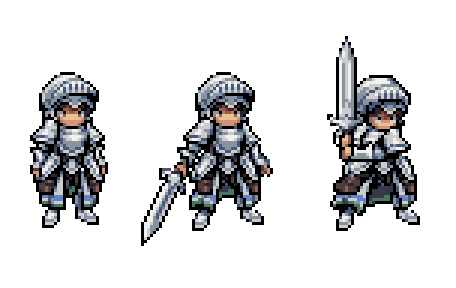
Soon after, Mariru will return with a rough sketch of the animation:
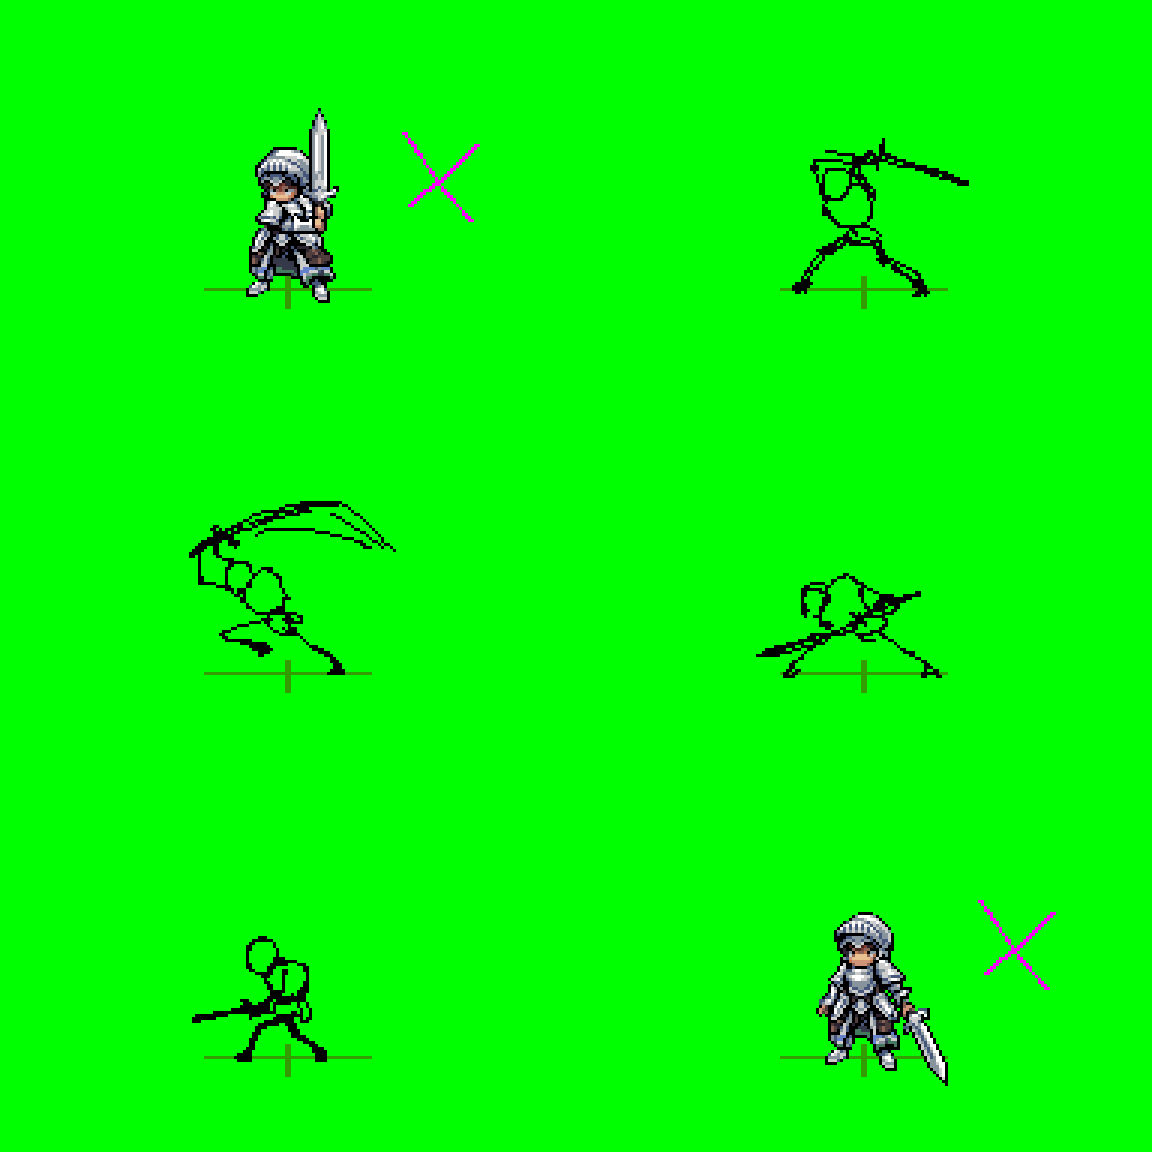
Iteration
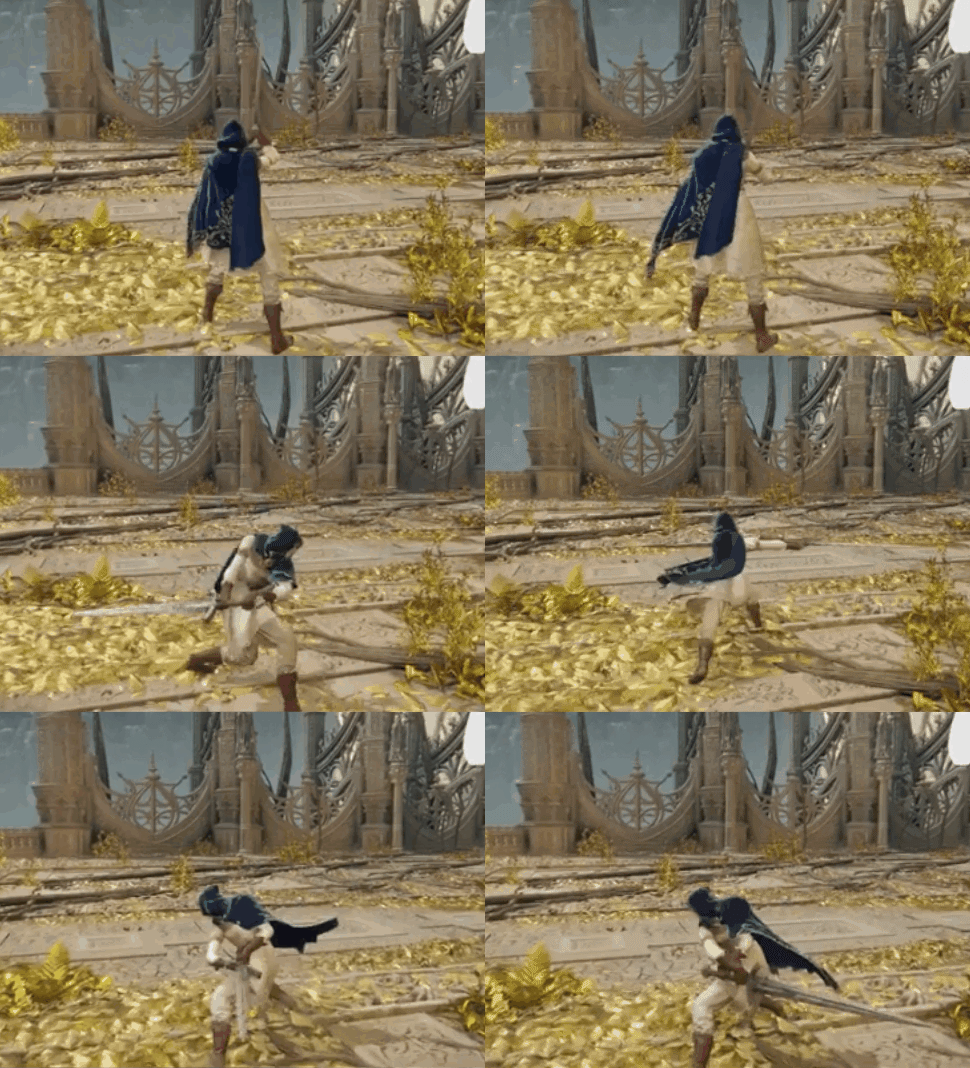
Most of the time, this rough sketch will be good enough to move forward with, but more complex animations will sometimes require some back-and-forth. In this case we iterated on the arc and weight of the swing a bit, including with some reference footage I grabbed from another game:
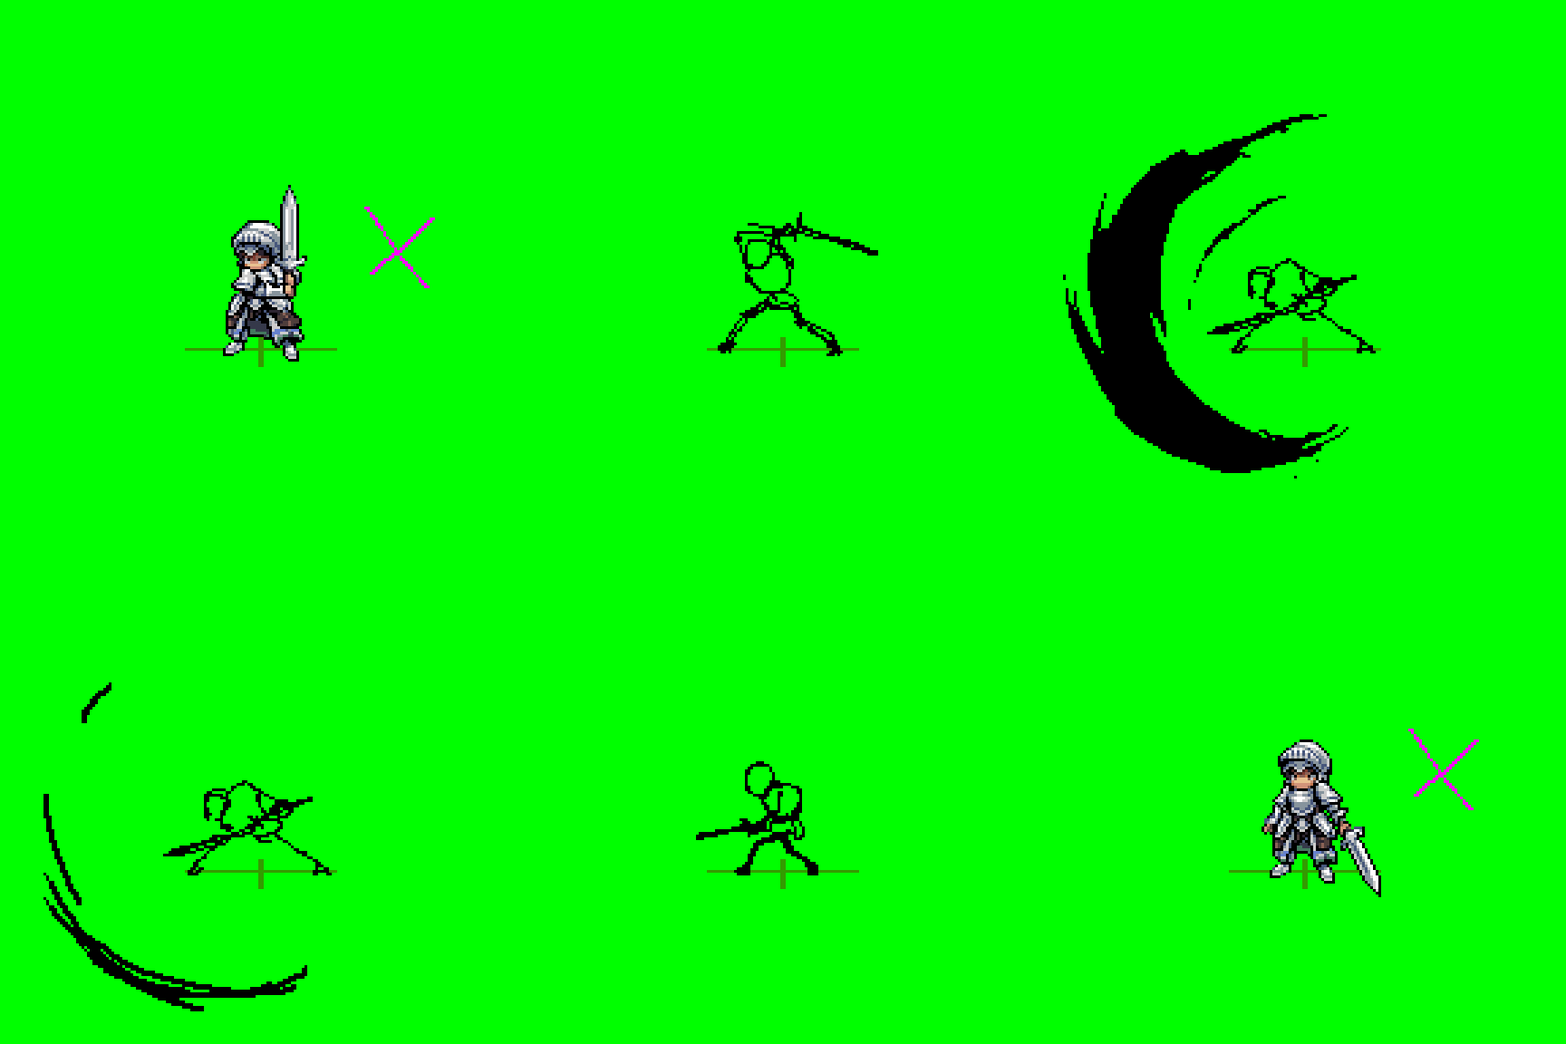
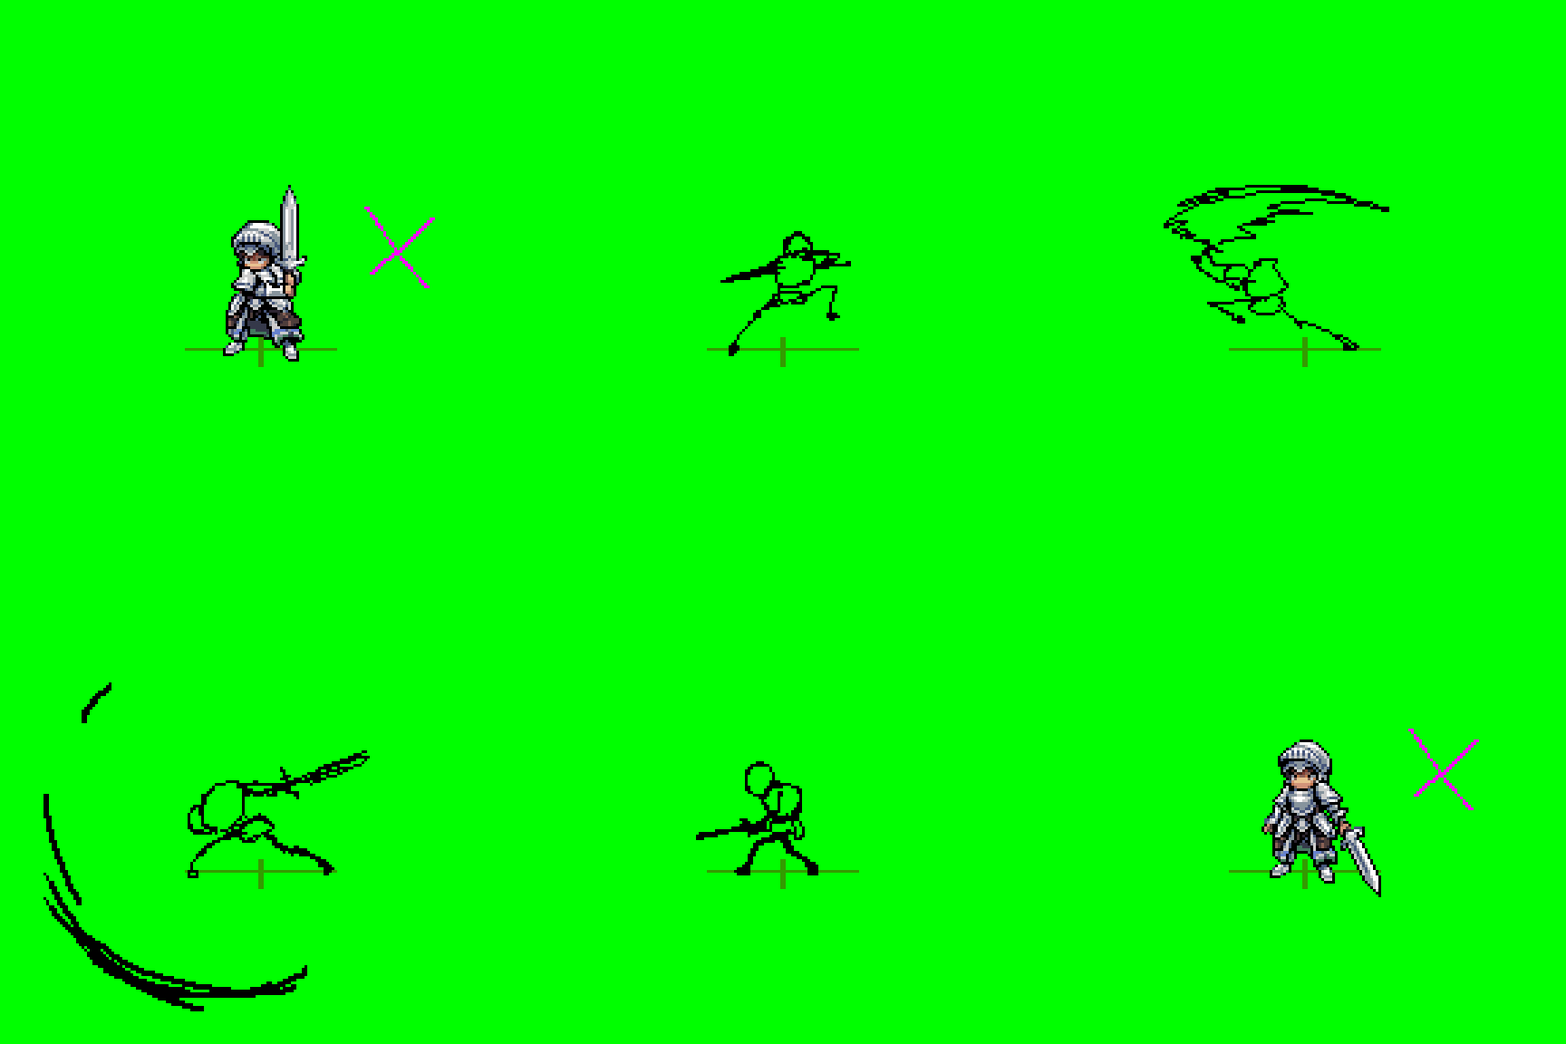
Once I’m satisfied with the sketch, I give the go-ahead to polish it up. First, the key frames are done:
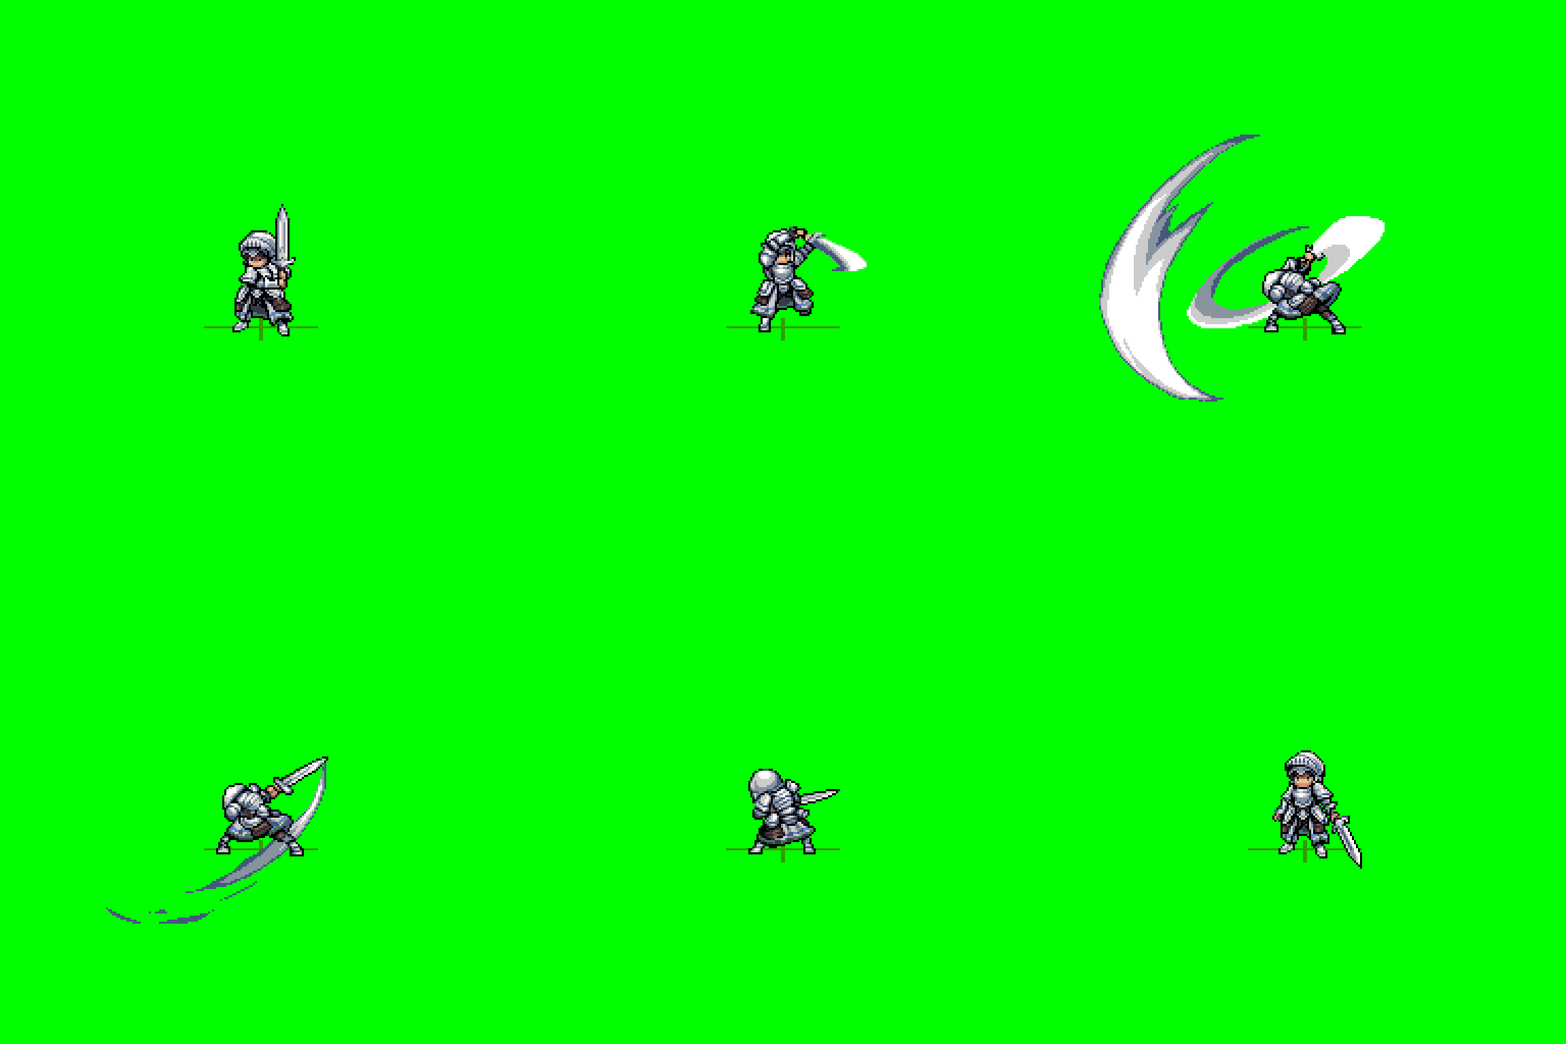
In this case, no notes were needed at this stage, so Mariru could proceed immediately to completing the final animation with in-betweens:
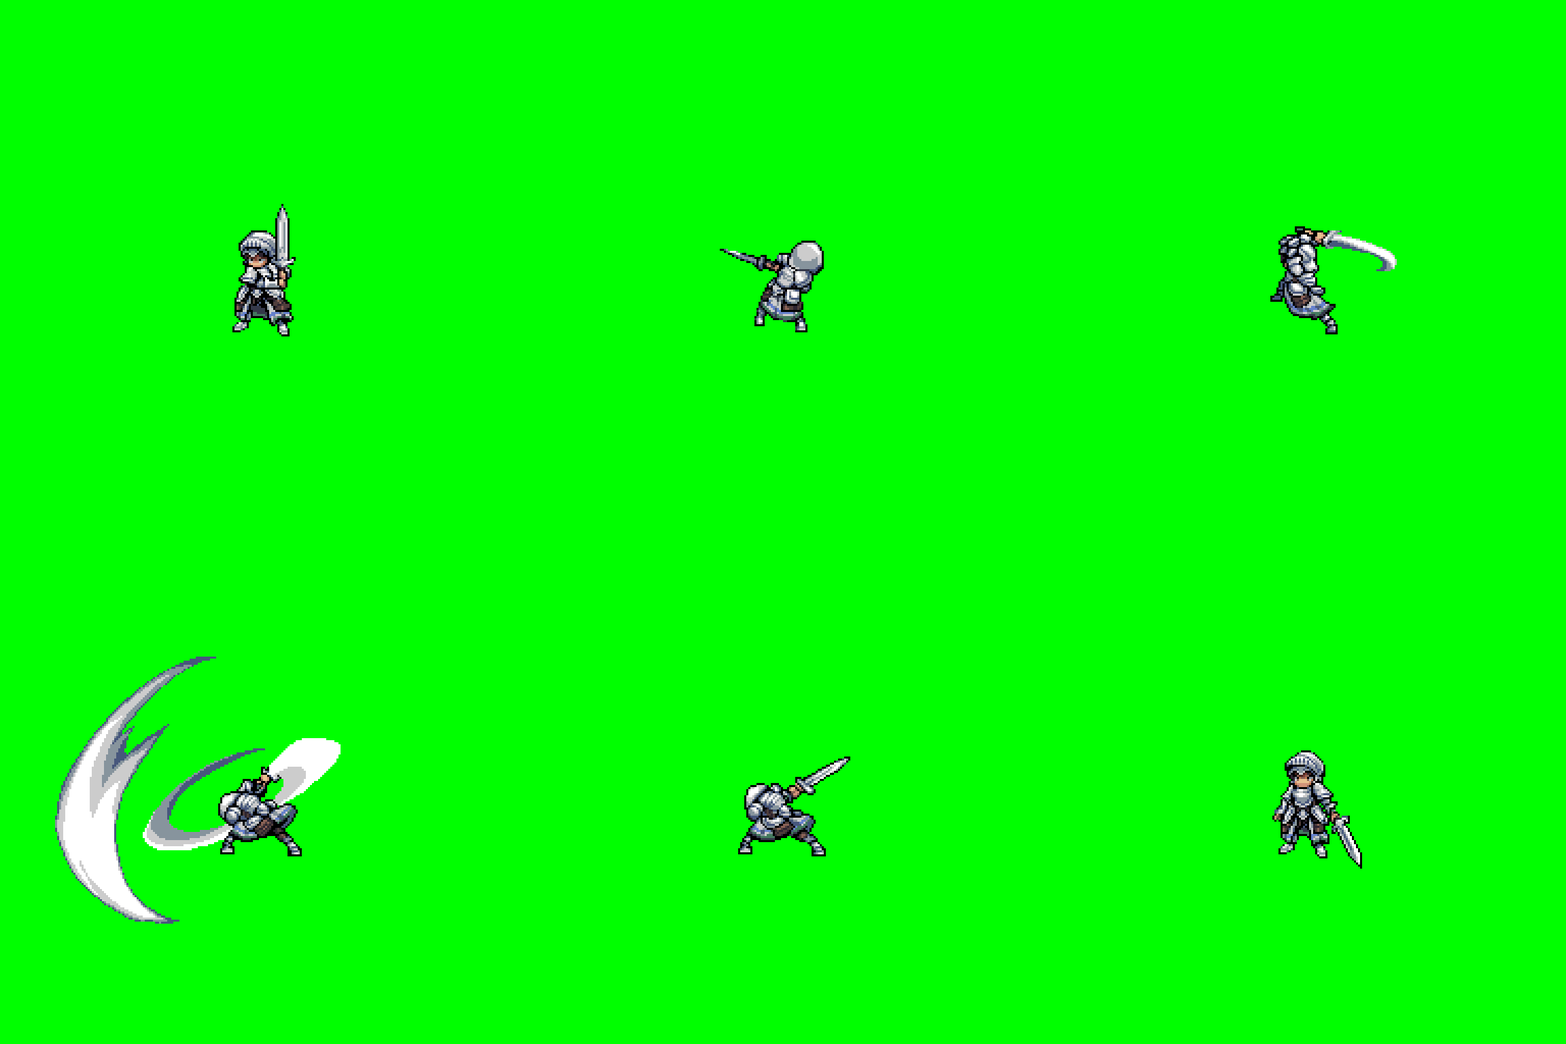
Awesome!
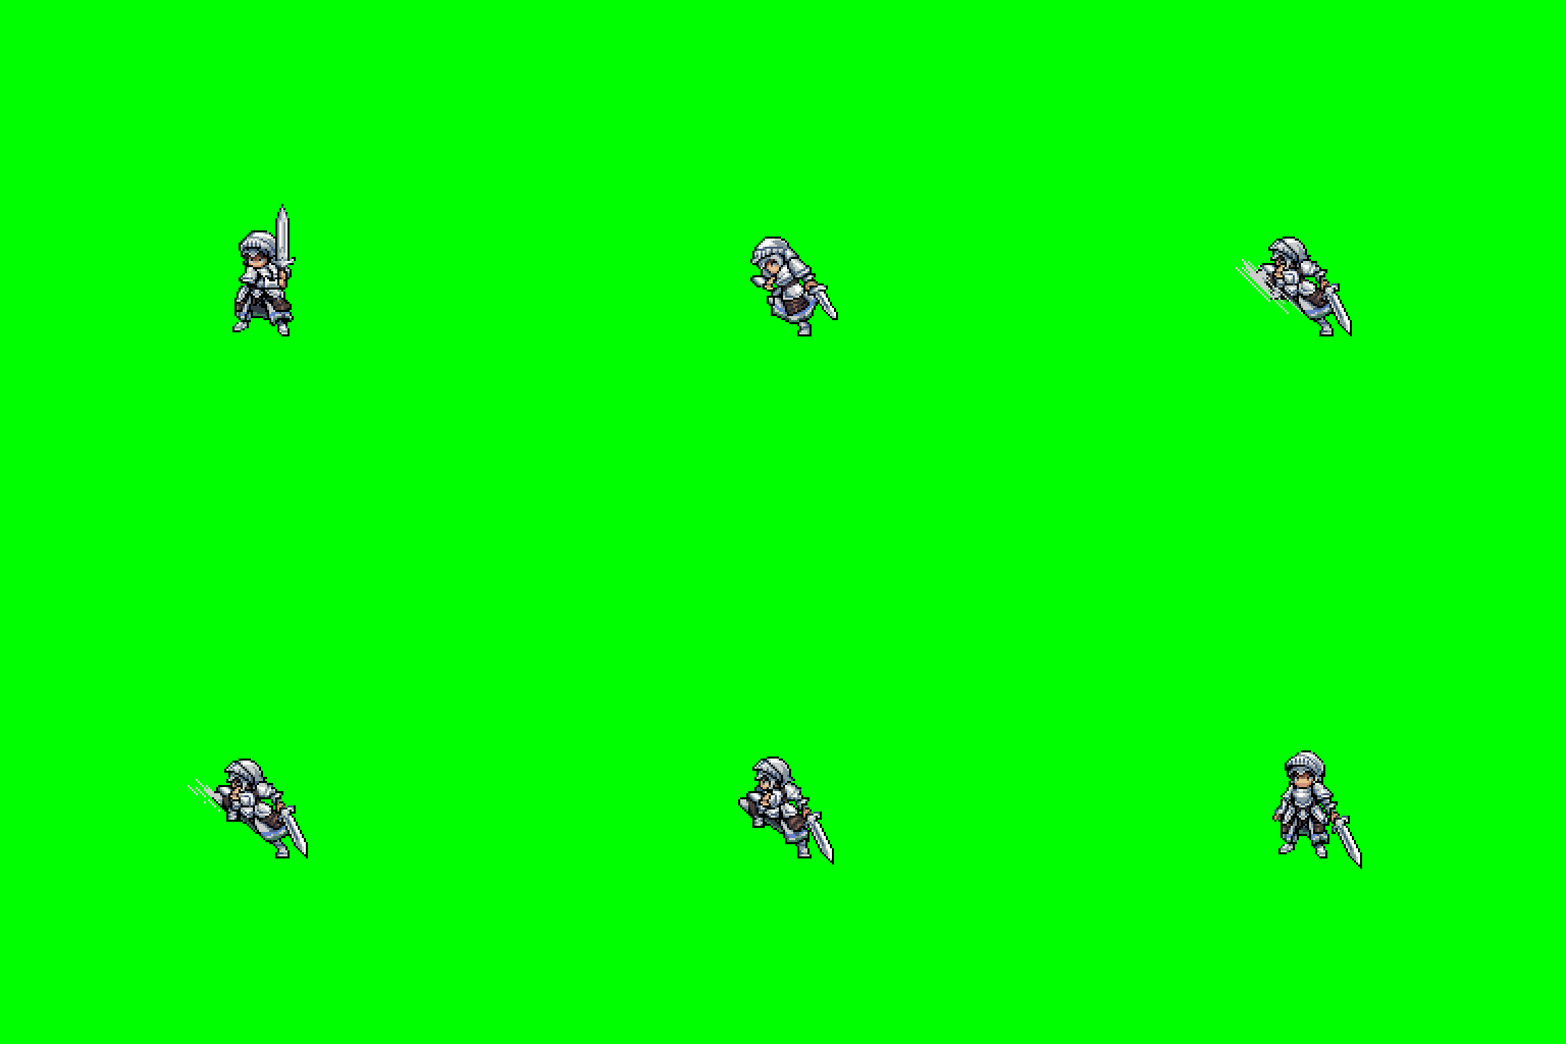
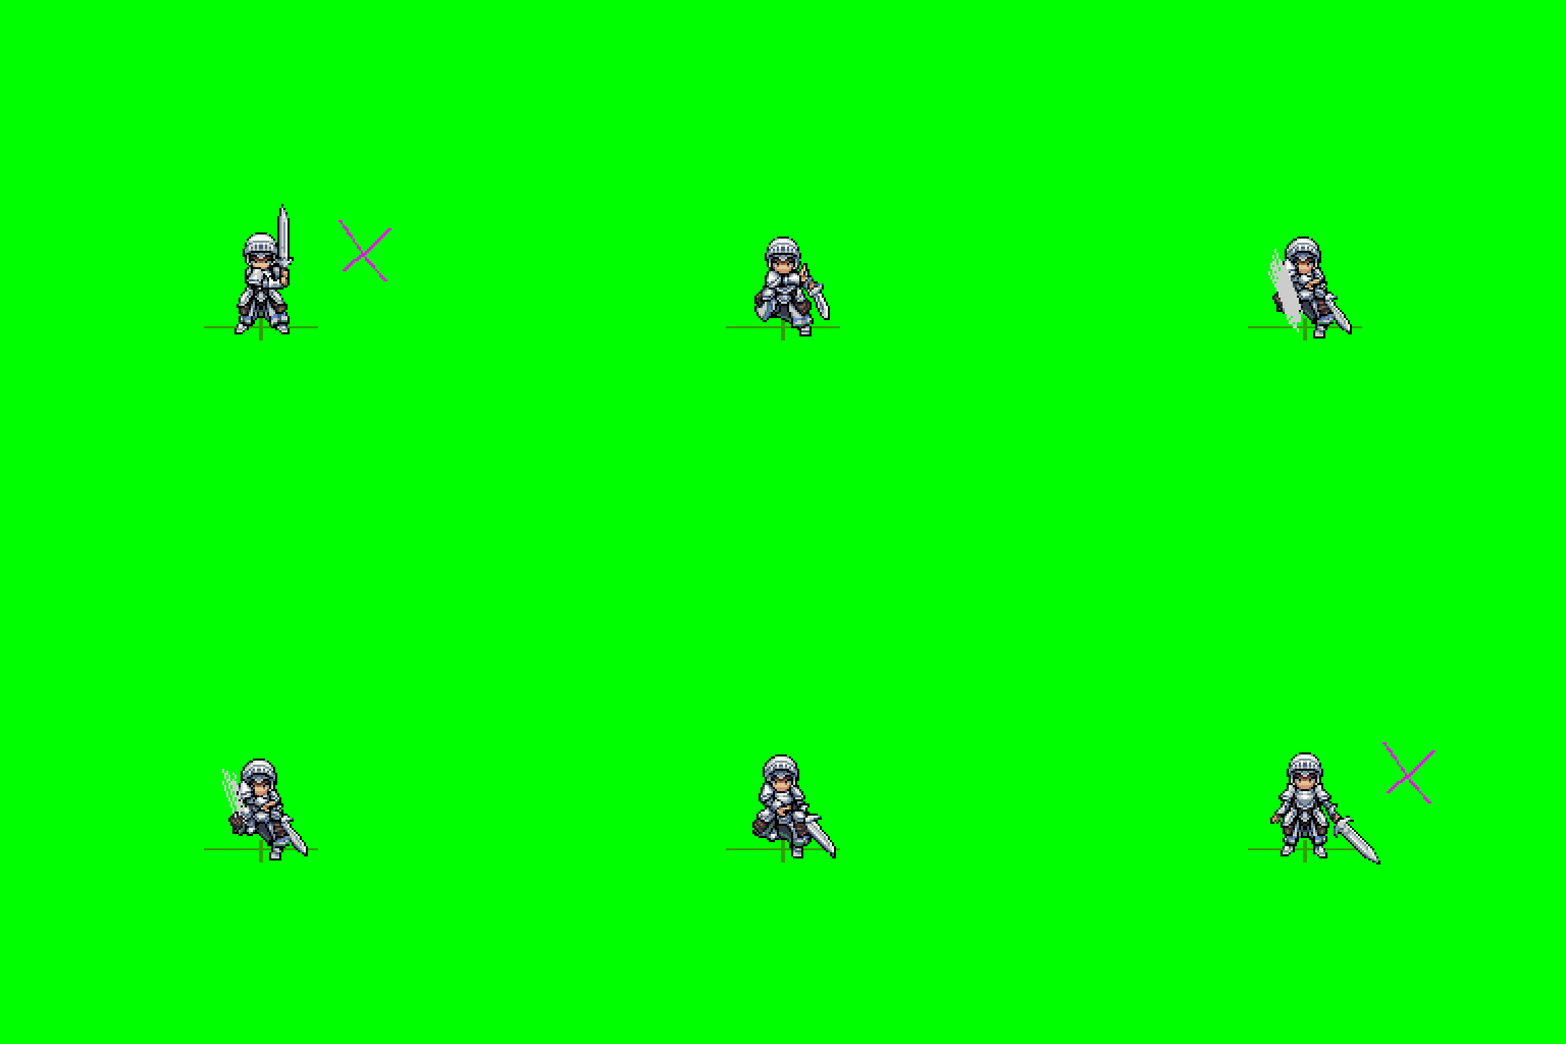
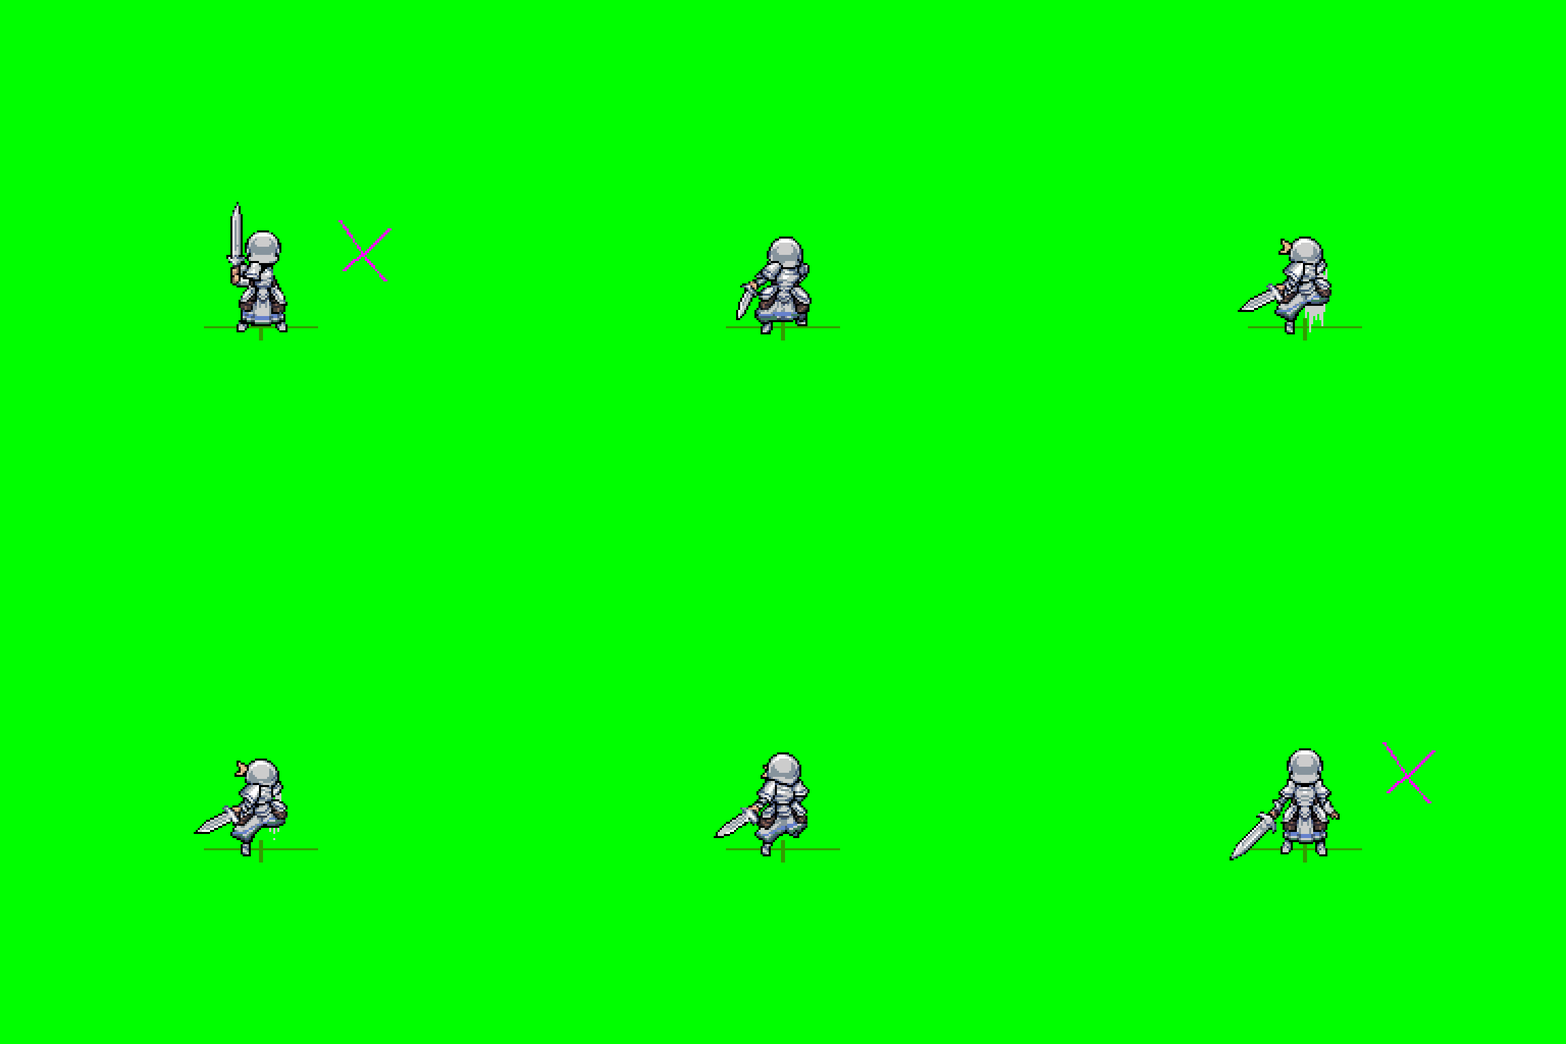
Many combat animations will have additional “up” and “down” facing variants1. We usually produce and implement all the side-facing animations for a character first for testing, though I’ll explain everything at once in the next section. The animator in charge can complete the other variants at a later date with minimal oversight, though these will often take as much work from them as the original side-facing variant! In this case, since it’s a fairly complex animation, we decided to always use the side-facing variant to save on effort, only changing the slash effect on top:
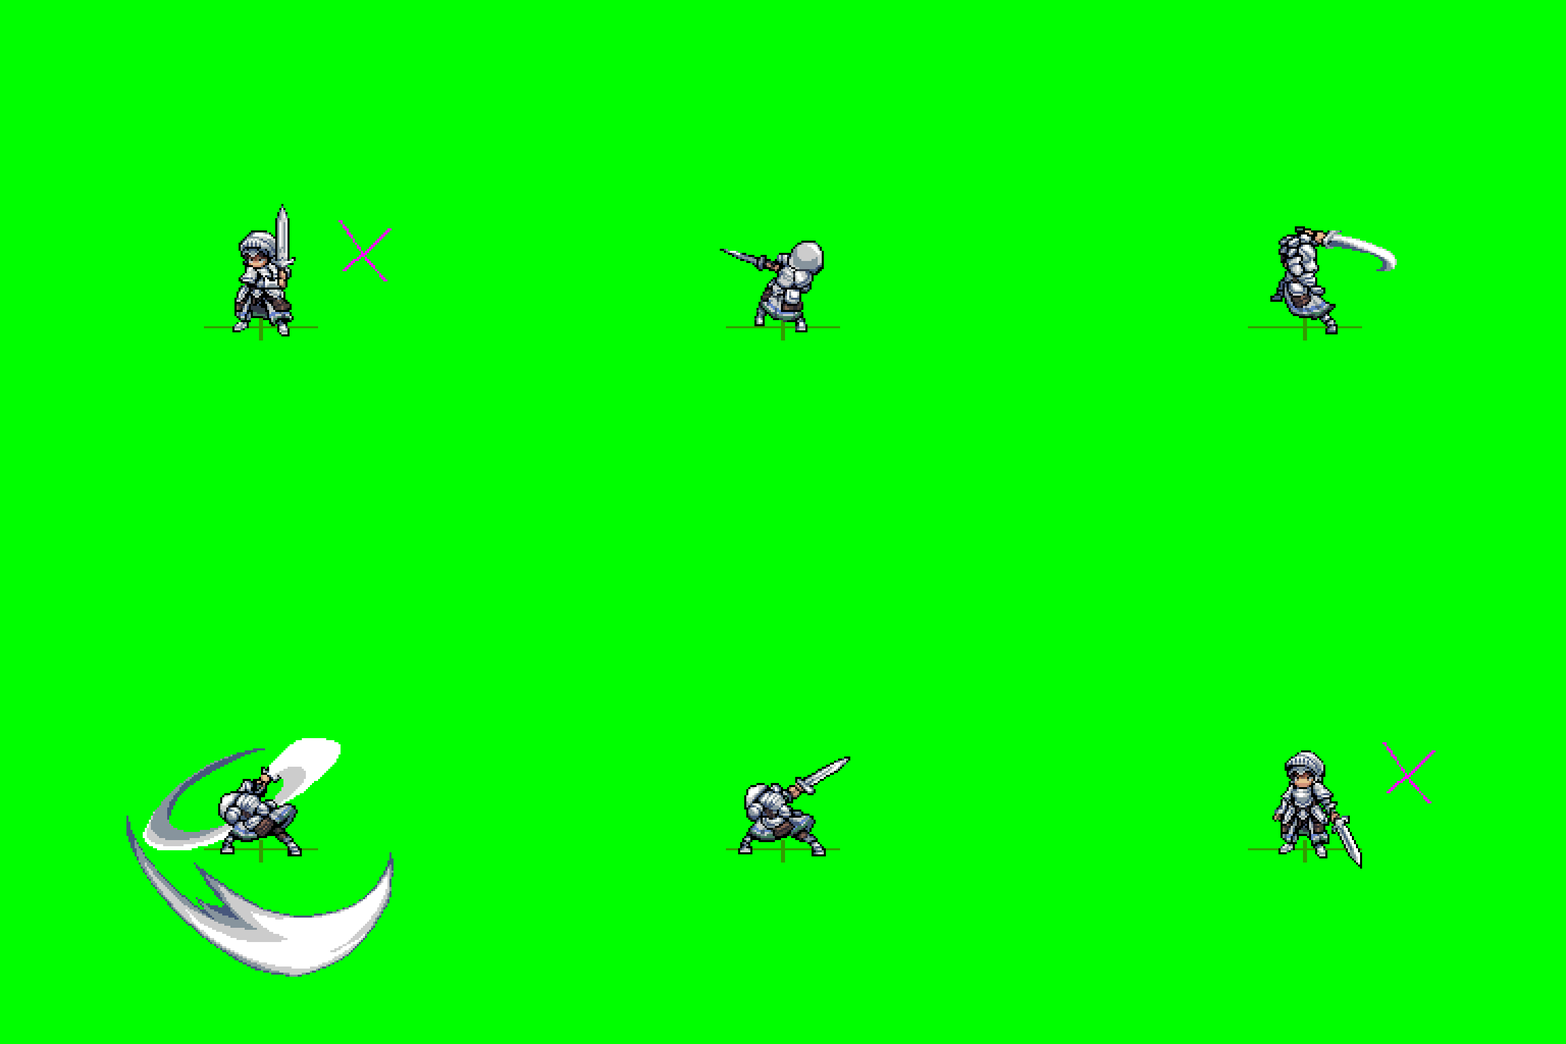
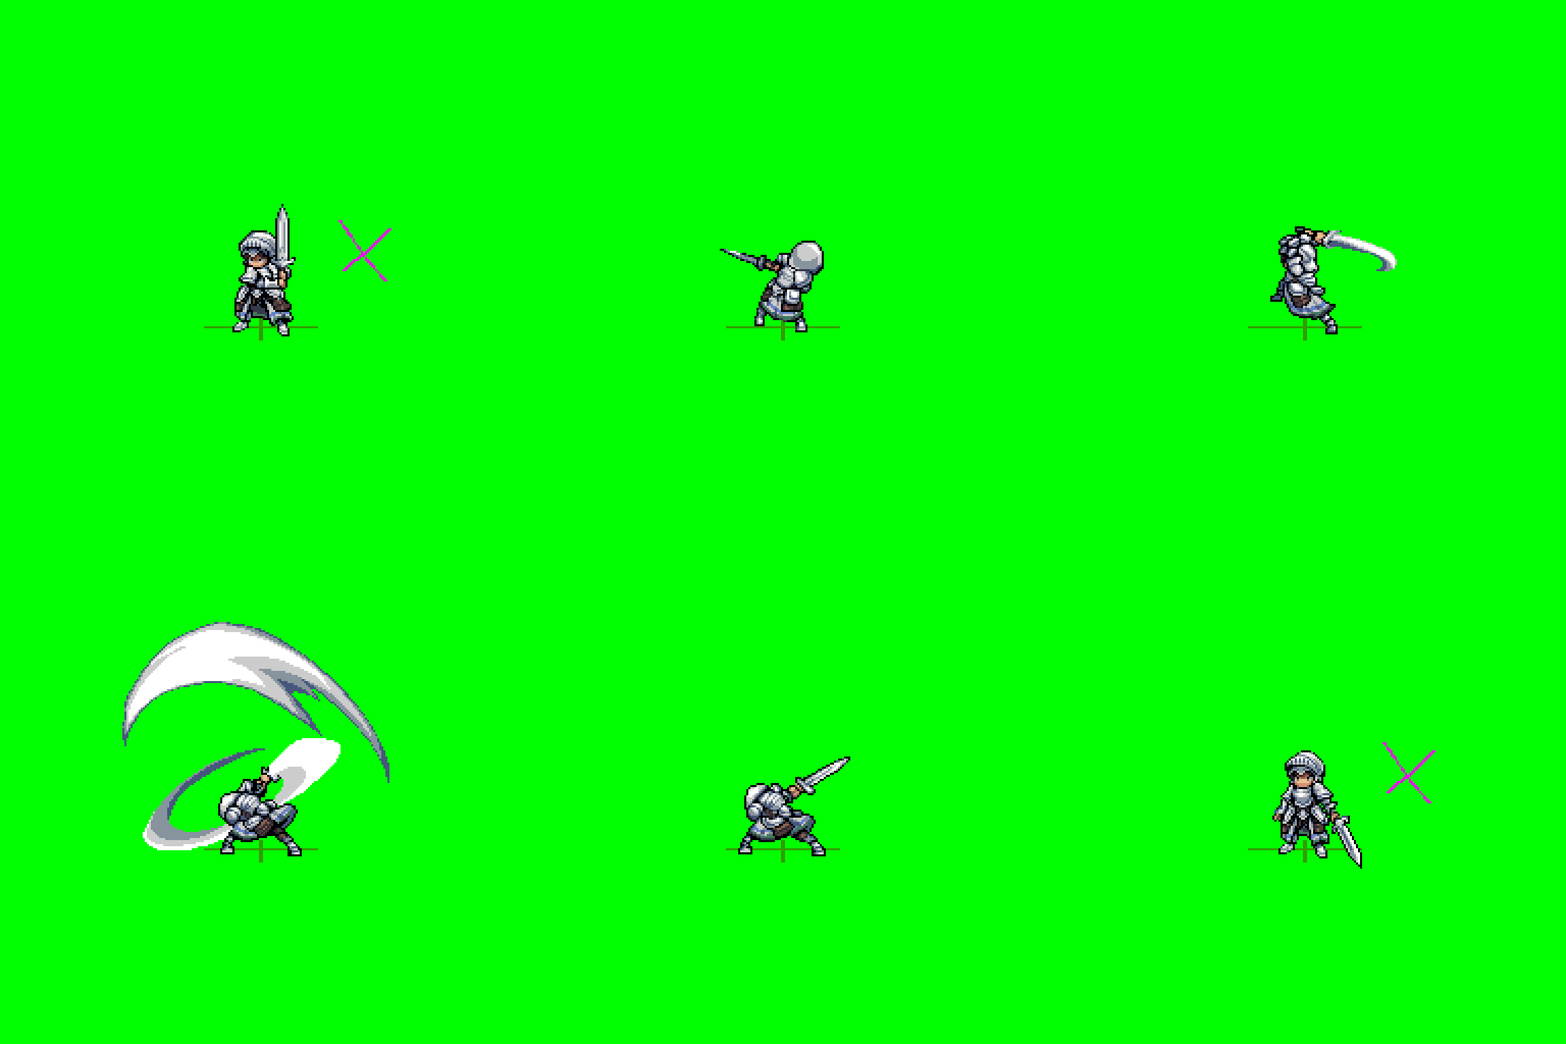
For reference, here’s what an attack with all its directional variants done “properly” looks like:
Implementation
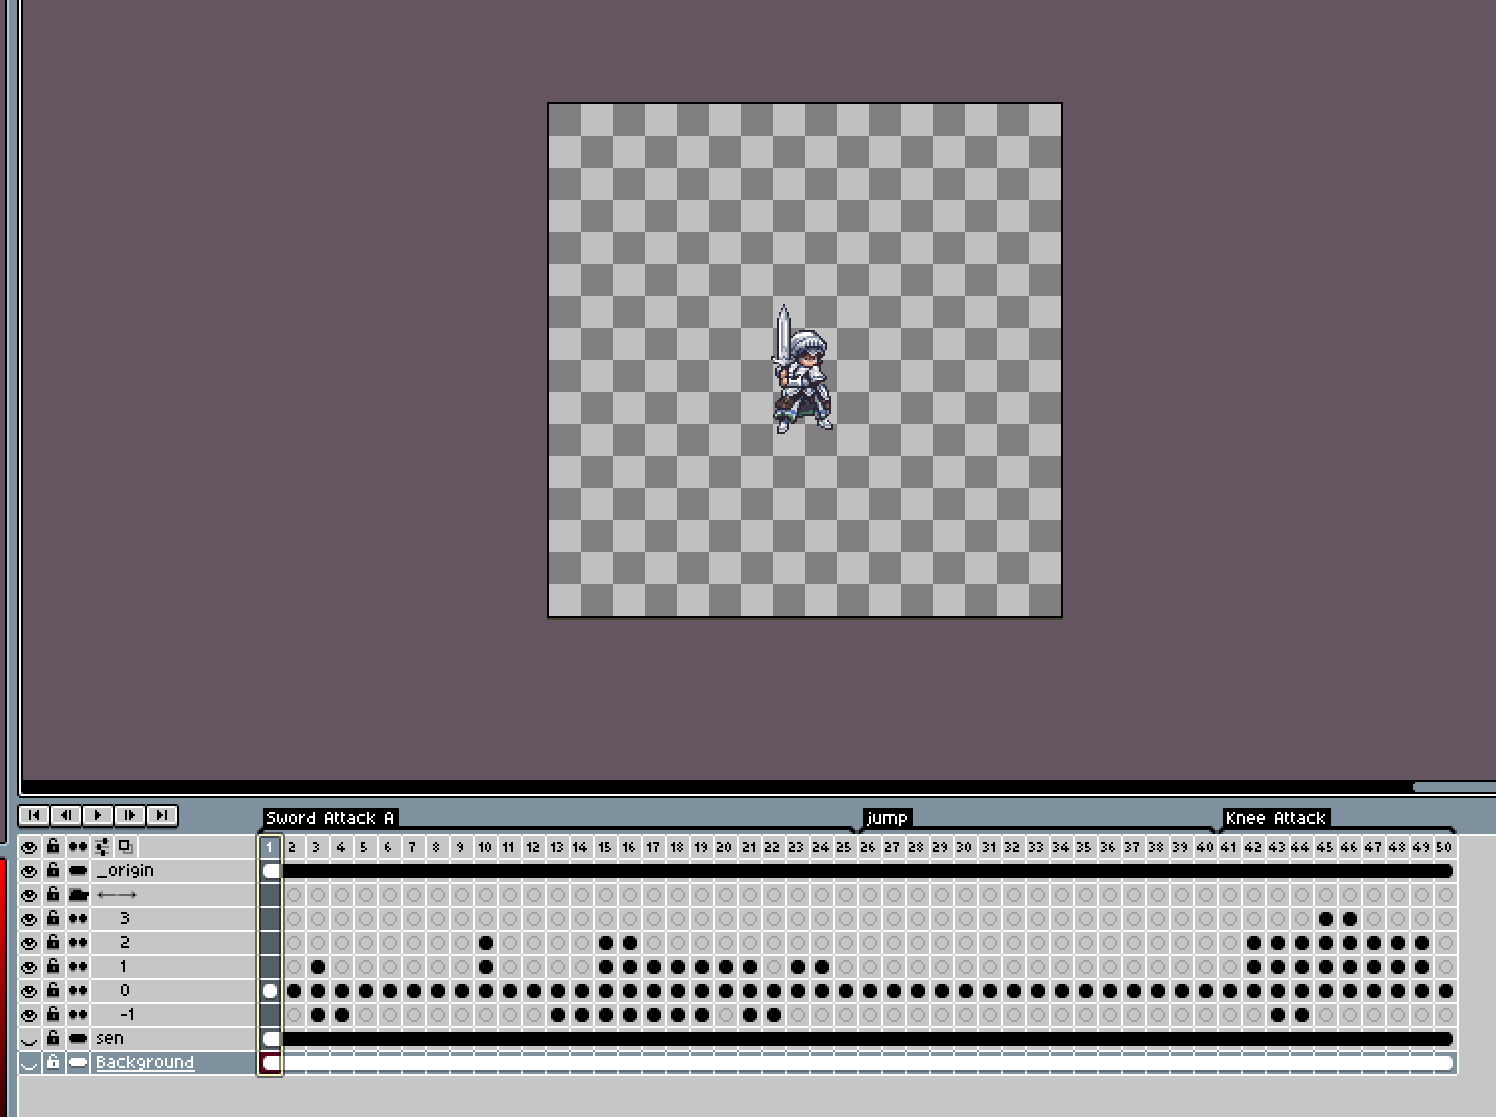
The final animations are delivered as Aseprite files that can be used directly with my custom engine. You can read about how sprites in general are handled here. To keep things organized and help the animations play nice with the code, a few final cleanup edits are made:
Animations of the same facing direction are placed in a single file and separated with tags (which get exported by the system as separate sprites).
An “origin” layer is made which determines what position the sprite draws from.
Side-facing animations are made to always face rightwards2.
For the most part though, the Aseprite data is left intact, so edits can easily be made later if needed without needing to reexport anything or send files around. Here’s what a final file looks like:

The build script will then export the flattened animation frames to one of the game’s texture pages and auto-generate IDs that can be used in code to refer to those frames:


The sprites can then be used when defining a combat action:

Impressive!
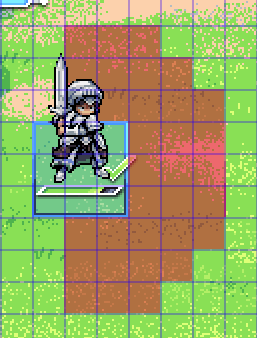
And that’s how it’s done! Here’s what the final animation looks like in-game:
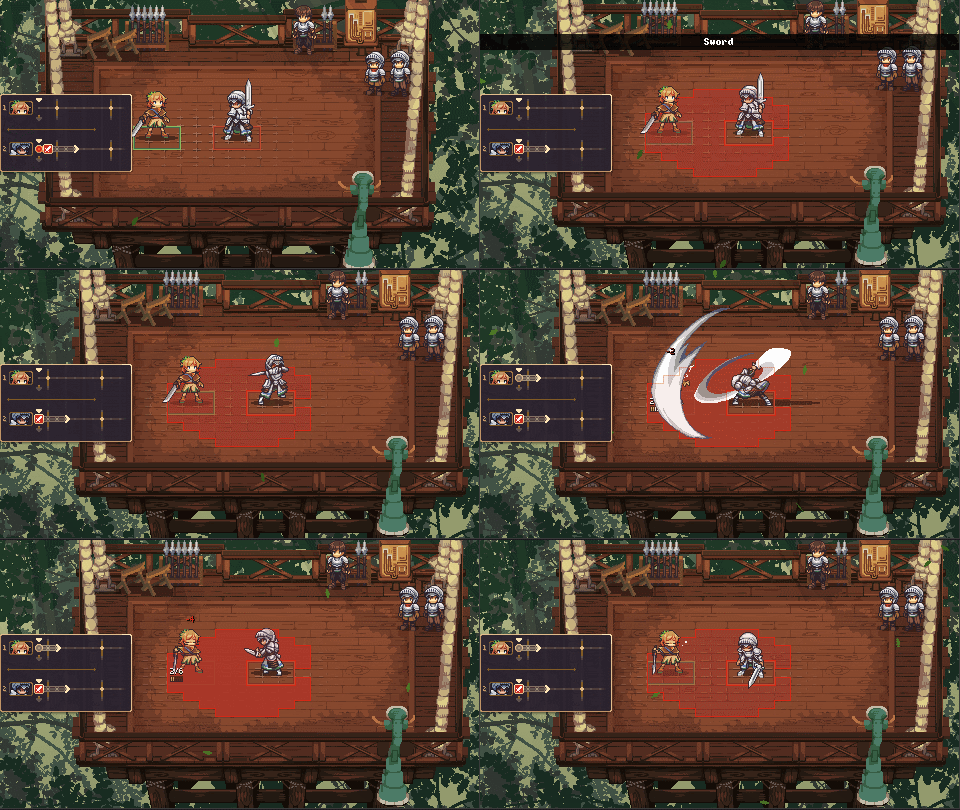
This’ll be the last devlog for the Diorama Break Kickstarter, though if I get the spare time I hope to bring you guys more in the future. There are only about 3 days left to back the campaign, so now’s your last chance to help us hit those stretch goals! Thanks for reading!
To save time and effort, “left” and “right” use the same animation, just mirrored.
This is to keep things consistent when mirroring sprites in-engine. “Flipped” animations always face left.